In this article we will explain how to use WooCommerce with Stripe by integrating the Stripe payment gateway into your WordPress ecommerce.
WHY SHOULD YOU USE WOOCOMMERCE WITH STRIPE?
Stripe, the online payment gateway offers several key benefits, and is a great option to use with your WooCommerce website.
- Checkout on your own website: This feature allows you to keep your potential customer in your ecommrece, instead of sending them to another URL to finalize the payment process. This is proven to increase the conversion rate.
- Easy integration with WooCommerce and WordPress: Stripe is easy to implement with WooCommerce using the free WooCommerce Stripe extension that helps you get started in just a few clicks.
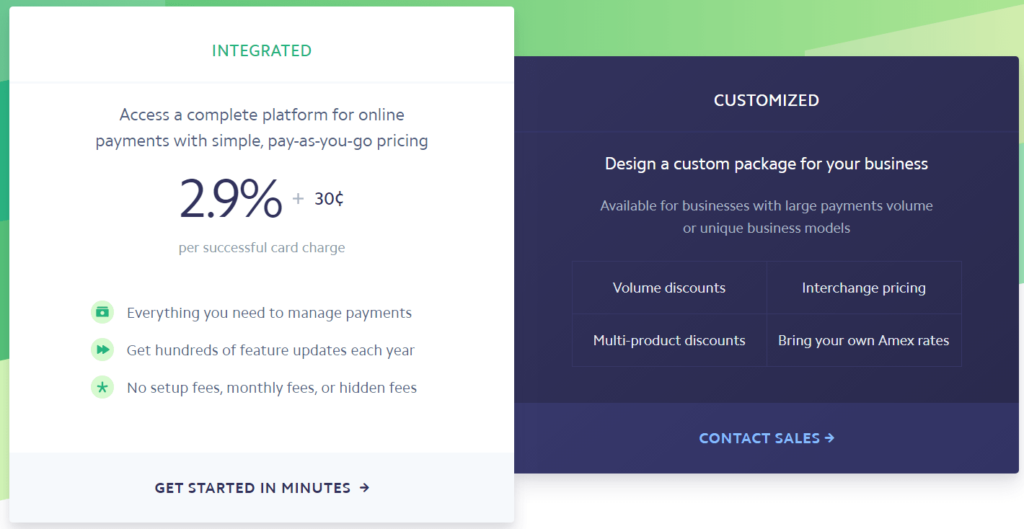
- Simple commission system: Stripe offers a very simple and cheaper commission system than PayPal.

FIRST STEPS: HOW TO USE WOOCOMMERCE WITH STRIPE
If you are just starting to work with WooCommerce or WordPress, you will need to create your own WordPress website. Once you have it up and running, you will need to follow the steps below:
INSTALL THE WOOCOMMERCE PLUGIN
Once you have your self-managed WordPress website, you will need to install the Woocommerce plugin to provide your website with e-commerce functionality.

When you install WooCommerce for the first time, you will have the option to go through a configuration wizard. Any options you select during this phase can be changed at any time. You’ll see an option to select Stripe as the payment gateway, but you’ll still have to add a plugin.
INSTALL AN SSL CERTIFICATE
Stripe requires an SSL certificate to run on your site.
The SSL certificate protects the data of your website and your users by encrypting the data transferred through the website, such as forms and credit card transactions. If your site includes payments, SSL is non-negotiable (in fact, Google announced that it was going to mark any site without this certificate as “unsecured”). In addition, the payment gateway plugin that you are going to use automatically implements Stripe JS, to tokenize the payments and keep the card data safe.
INSTALL TEST PRODUCTS
If you are setting up your website, the easiest way to get started is to import some sample products. You can do this from your ecommerce control panel, at Control Panel > WooCommerce.

Select “Add example products” and click on “Let’s go”. This will take you to the customization screen. Make changes to the look and feel of your website and click on “Know & Publish”.

Your test products will load automatically, to make testing easier.
WOOCOMMERCE STRIPE PAYMENT GATEWAY INSTALLATION
INSTALL THE STRIPE PAYMENT GATEWAY PLUGIN
After logging into your WordPress administrator, go to Control Panel > Plugins > Add New, and look for WooCommerce Stripe or WooCommerce Stripe Payment Gateway.

Click to install the plugin, and click again to activate it.
CONFIGURE THE PLUGIN
Once the plugin is installed, it will take you to the Plugins screen, where you must click on “Settings” to go to the Stripe configuration screen.

You can also access this configuration at Dashboard > WooCommerce > Checkout > Stripe at any time.

CONFIGURING STRIPE’S PAYMENT GATEWAY

Here we explain step by step how to configure the payment gateway:
1. First, set up your Stripe account. This is a very quick process, explaining during the setup process itself.
2. Enable Stripe by checking the corresponding checkbox.
3. Enter a title. This is mandatory and will be shown to your customers.
4. Enter a description. This is optional, and the text entered in this field will be shown to your customers.
5. Enable trial mode. Once you have made a successful trial payment, you can return to this screen
or deactivate the test mode and add your Live Publishable and Test Secret Keys.
6. Enter your Test Publishable Key.
7. Enter your Test Secret Key.

8. Enter the “Statement Descriptor”. This text will be displayed on your customer’s credit card payment record.
9. In most cases, you will want to make the charge immediately. If you do not, unregistered charges will be cancelled within 7 days.

10. If you enable the Stripe Checkout option, your customers will be asked to enter their card information on a pop-up screen, rather than on a form in that same window.
11. Select the language you want to use.
12. Stripe Checkout allows you to select the Bitcoin currency as payment, if you wish.
13. You have the option to display a custom image of 128×128 in the payment mode.

14. If you don’t activate Stripe Checkout, you can enable the Payment Request API. This works with specific browsers. For example, it asks Android Chrome users to use Chrome Pay and allows them to use their stored cards.

15. If you want to enable Apple Pay, check the box to do so.
16. Set the style of the button: black or white.
17. Choose the language for the Apple payment button. You can find more two-digit ISO codes here.

18. Enabling payment using saved cards will allow your customers to reuse the same card in your store. Card numbers are stored on Stripe servers.
19. By activating the “Log debug messages” option, Stripe will save messages to help solve problems registered in ecommerce. You do not have to enable this option unless you have problems with your store.
20. Last but not least, click save!
Get it up and running!
Once you’ve proven that payments work, it’s time to start offering Stripe as a payment method.
To do this, go to your Control Panel > WooCommerce > Checkout > Stripe and check the Enable Test Mode box.

You will need to enter the Live Publishable Key and the Live Secret Key.
Caution: If you have uploaded test products, don’t forget to delete them.


